Professional security systems used to mean one thing: a multi-year contract, a scheduled installation, and a monthly bill. That model still exists, and it works well for some homes. However, it’s no longer the only serious option. In fact, a DIY smart home security system now covers most real-world risks at a fraction of the cost. You install the equipment yourself in an afternoon. This guide walks through the whole process, from choosing sensors to connecting cameras. We’ll keep it practical, and we’ll be honest about what a DIY setup can and can’t do.
What Is a DIY Smart Home Security System?
Put simply, a DIY smart home security system is a collection of sensors, cameras, and alarms that you buy, install, and manage yourself. There is no installer appointment and no central monitoring contract. Instead, the system talks to your phone over Wi-Fi, and the app becomes your control center.
That difference matters more than the hardware. A professionally monitored system can call emergency services for you, which is genuinely valuable. A DIY system alerts you, and you decide what happens next. Therefore, the real trade-off is convenience versus control. In other words, a DIY setup replaces the installer and the monthly fee with your phone and your judgment.
The Core Pieces of a DIY Setup
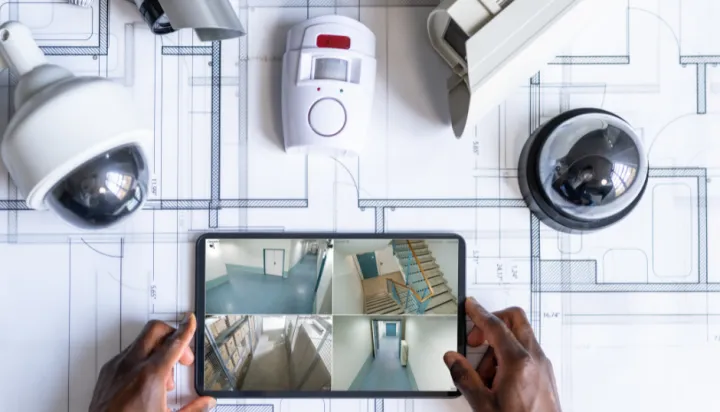
Every DIY system is built from the same five building blocks. You rarely need all of them at once, but knowing the full menu helps you plan.
- Entry sensors. Small contact sensors on doors and windows detect when they open.
- Motion sensors. They watch rooms and hallways, and they’re the cheapest way to cover a large area.
- Cameras. Indoor and outdoor cameras add eyes, both live and recorded.
- A siren or alarm. A loud siren scares off intruders and alerts neighbors, and many hubs and cameras include one.
- A hub or app. This is the brain, whether it’s a dedicated hub, a smart speaker, or simply the brand’s app on your phone.
Brands approach these pieces differently. Ring sells complete kits around its own ecosystem. Wyze focuses on budget-friendly sensors and cameras. Aqara builds compact sensors and hubs with strong Matter support. As a result, your first decision is not which gadget to buy, but which ecosystem to build inside.
Step 1: Secure the Entry Points First
Intruders enter through doors and windows, so that’s where a DIY system should start. Entry sensors cost little and install in minutes with adhesive backing. Put them on ground-floor doors and windows, and the system tells you the moment one opens.
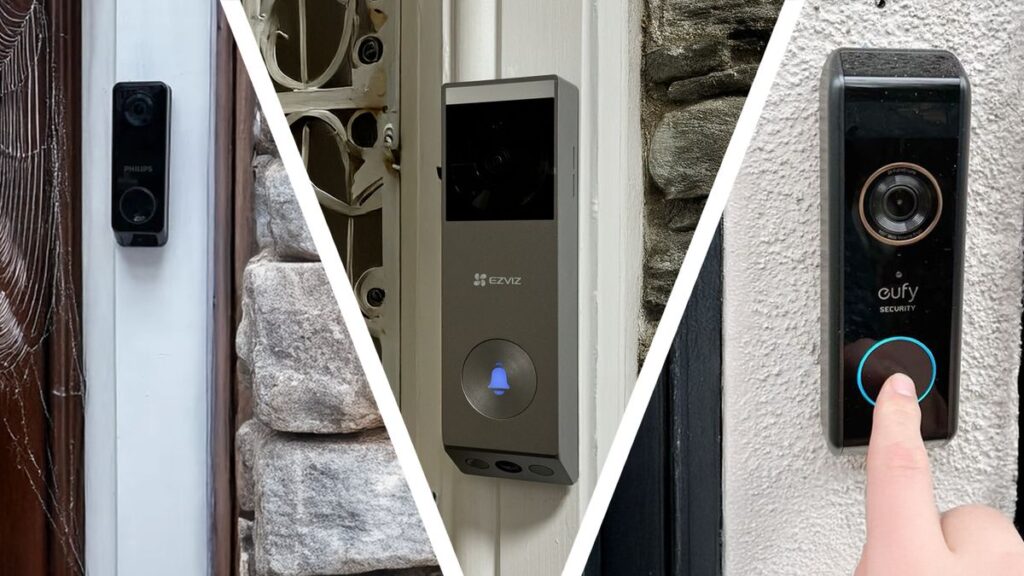
Your front door deserves extra attention. A video doorbell adds a camera, a two-way speaker, and a record of everyone who approaches. We compared the current options in our video doorbell guide, and the short version is this: any reputable model is better than none. Meanwhile, if you rent, choose battery-powered sensors that come off without leaving marks.
Windows need a little more thought. Ground-floor windows are obvious targets, but so are upper windows near a balcony, a garage roof, or a sturdy tree. Therefore, prioritize the openings that are reachable, not just the ones at eye level.
Step 2: Add Cameras Where They Matter Most
Cameras are the piece most people buy first, and they’re also the easiest to get wrong. Start by identifying the few views that matter: the front door, the back door, and any large glass areas. You don’t need twelve cameras to secure an average home. Two or three well-placed ones do the job.
The wired versus wireless choice shapes this step. Battery cameras install anywhere in minutes, while wired models record continuously and never need charging. Our wired vs wireless security cameras comparison covers the full decision, including storage and subscription costs.
Placement matters as much as the model. Mount cameras high enough that nobody can reach them, but low enough to capture faces rather than the tops of heads. Also, check the Wi-Fi signal before you mount anything. A camera that streams through two brick walls will frustrate you daily, no matter how good its specs look on paper.
Step 3: Control Access With a Smart Lock
Cameras and sensors tell you what happened. A smart lock decides who gets in, which makes it the natural third piece. You can lock and unlock remotely, hand out temporary codes to guests or dog walkers, and check from anywhere whether the door is actually locked.
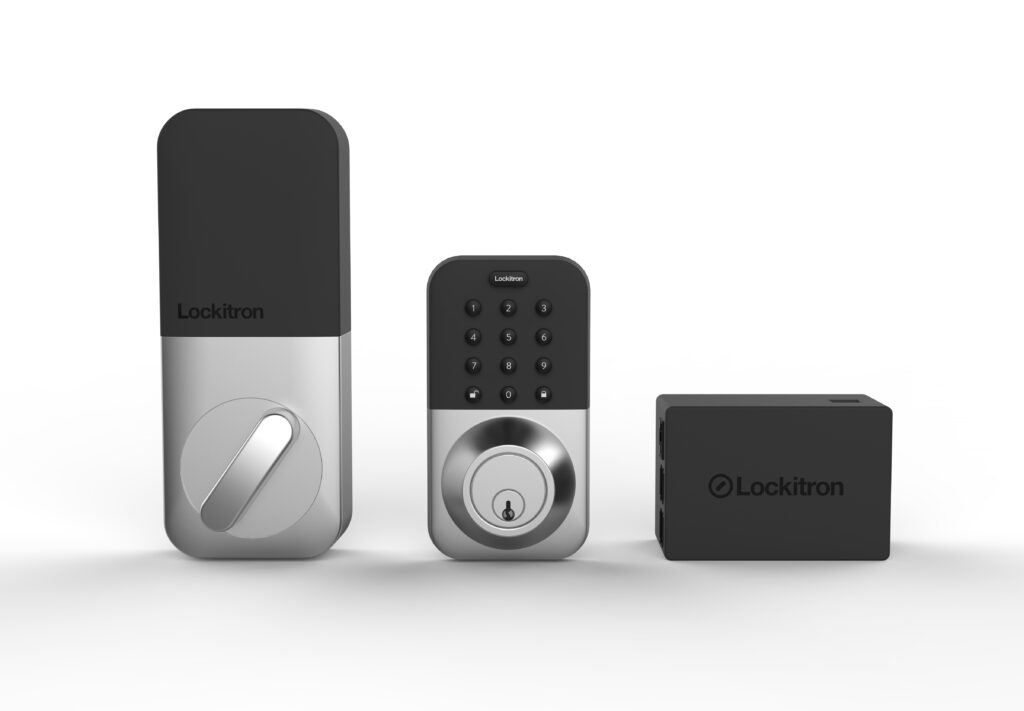
Smart locks range from retrofit models that keep your existing key to full replacements with keypads and fingerprints. We broke down the options in our guide to the best smart locks for front doors. Whichever you choose, keep one rule in mind: the physical grade of the lock matters more than its app features.
A smart lock also pays off in daily life, not just in security. For example, set a temporary code for a cleaner that expires on the same afternoon, and you never hand out a key again. Meanwhile, an auto-lock rule closes the door behind you every time, which eliminates the most common security mistake of all: the forgotten lock.
Step 4: Connect Everything in One App
Disconnected gadgets are a chore, not a system. The fourth step is making everything work together, and here you have two paths. The first path is a single brand’s ecosystem, where every device speaks the same language out of the box. The second is a hub-based setup that mixes brands.
For most beginners, staying inside one ecosystem is the pragmatic choice. It costs less setup time and produces fewer headaches. However, the industry is converging on Matter, an open standard backed by Amazon, Apple, Google, and most major brands. Matter-certified devices from different companies can work together, which means a mixed setup becomes more realistic every year. In other words, buying Matter-certified gear today keeps your options open tomorrow.
One warning for the ambitious route: radio protocols confuse people. Zigbee, Z-Wave, and Thread devices often need a specific hub or dongle, and not every hub speaks every protocol. Therefore, check compatibility lists before you buy, and start with devices that share one protocol rather than three.
Step 5: Set Up Alerts and Automations
Hardware is only half of a DIY system. The other half is configuration, and this is where DIY setups beat professional ones. You decide what the system does, when it does it, and who gets told.
Start with the basics. Entry sensors should trigger a siren and a phone alert. Cameras should record clips when motion appears. Then add automations that match your routine. For example, a geofencing rule can disarm the system when you arrive home and re-arm it when you leave. Meanwhile, schedule rules can silence alerts during the day and arm everything at night.
The most important configuration, however, is notification hygiene. A system that pings you for every passing cat will be disabled within a week. Therefore, tune motion zones, sensitivity, and quiet hours until the alerts you receive are almost always real.
Common Mistakes to Avoid
DIY security fails in predictable ways, and all of them are avoidable:
- Buying incompatible brands. A lock from one ecosystem and a hub from another is a classic mismatch. Check compatibility before checkout.
- Skipping the Wi-Fi plan. Sensors and cameras are useless in dead zones. A mesh system often matters more than an extra camera.
- Placing cameras poorly. Too high, too low, or pointed at a neighbor’s yard wastes the hardware.
- Ignoring the siren. Alerts on a silent phone help little if nobody hears the break-in. A loud siren is a genuine deterrent.
- Forgetting backup basics. Batteries die and internet drops. Keep a physical key for locks, and know that your system goes quiet offline.
In short, the failures come from planning gaps, not from the equipment itself. A little forethought fixes nearly all of them.
What a DIY System Won’t Do
Honesty matters here, so let’s be clear about the limits. A DIY system will not call the police for you. When an alert arrives, you decide whether to call, and that delay matters in an emergency. Some ecosystems now offer optional professional monitoring for a fee, which narrows the gap, but that reintroduces the monthly cost.
A DIY system also depends on your internet and power. If both go down, most consumer gear goes quiet. Finally, insurance discounts are possible but not guaranteed. Some insurers offer small reductions for security devices, while others ignore them entirely. As a result, treat a DIY system as a deterrent and an awareness tool, not as a replacement for common sense or solid locks.
What a Realistic Setup Costs
Avoid the two extremes. The cheapest kits tempt you with useless sensors, while the most expensive setups defeat the purpose of going DIY. A sensible starter system costs a modest amount: a couple of entry sensors, one camera, and a hub or app. That alone covers the most common risks, which are opportunistic entry and package theft.
From there, you can grow gradually. A doorbell, a second camera, and a smart lock each add a layer, and each installs in minutes. In practice, most homes reach a solid level of protection for a few hundred dollars in total, spread over time. That compares well with a monitored contract, which charges a similar amount every single year.
Privacy and Security Basics
Your DIY system collects real data about your home, so treat it seriously. Start with the account that controls everything: use a strong, unique password and enable two-factor authentication. Then check what each camera and sensor uploads to the cloud. Local storage keeps footage in your home, while cloud plans push it to company servers.
The FTC’s consumer guidance on securing internet-connected devices at home covers these basics well. Beyond that, use common sense. Don’t point indoor cameras at bedrooms or bathrooms, and update firmware when the apps ask. Review app permissions occasionally, too, since they tend to creep wider over time. A secure system is one you configured carefully, not one you bought and forgot.
Final Thoughts
A DIY smart home security system is not about assembling the most gadgets. It’s about covering the realistic risks in a way you can actually maintain. Start with the entry points, add cameras where they matter, connect everything in one app, and tune the alerts until they’re useful. You can build the whole thing over a few weekends, and each layer works on its own while you add the next. In other words, there’s no wrong moment to start. Even one sensor and one camera put you ahead of the majority of homes, and every layer you add makes the whole setup stronger.
Starting from zero? Begin at the front door with our video doorbell comparison, then build the rest piece by piece.