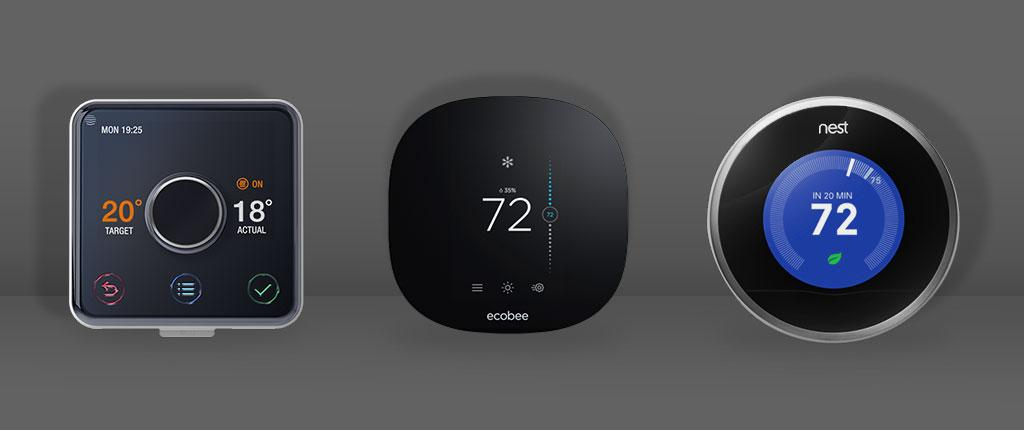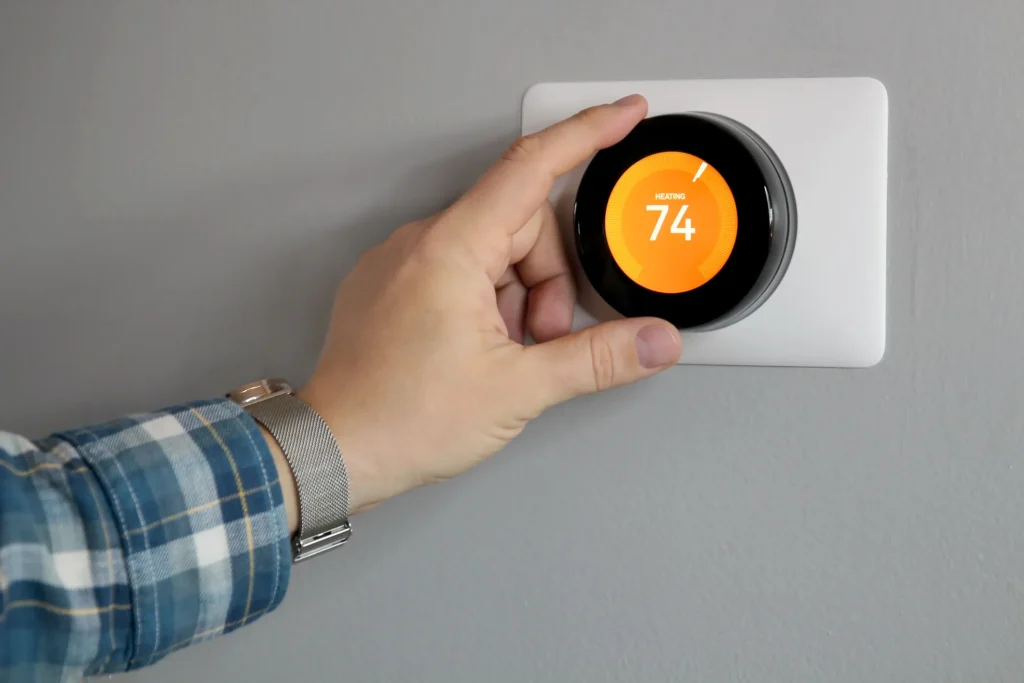
The thermostat install is the friendliest wiring project in the smart home. It works with low-voltage control wires, the power is easy to isolate, and the whole swap usually takes under an hour. Thousands of homeowners do it every weekend without an electrician, and the brands design for exactly that. However, “most can” is not the same as “everyone should,” and a few wiring situations genuinely need a professional. If you haven’t picked a model yet, our best smart thermostats guide covers the options. This guide covers how to install a smart thermostat safely, step by step, and it tells you honestly when to stop and call someone.
How to Install a Smart Thermostat: Do You Need an Electrician?
Yes, in the common case. Standard forced-air furnaces and conventional heat pumps qualify. So do homes with a visible bundle of low-voltage wires and a nearby power shutoff. For those, the swap is well within reach of a careful DIYer. The brands publish detailed guides, and ecobee and Google’s Nest support pages walk through each terminal.
The project stops being DIY in specific situations. Line-voltage systems, the kind that power baseboard heaters directly, are dangerous and off-limits for this guide. Aluminum wiring, shared neutrals, and systems you cannot identify also call for a professional. If your setup matches those, the honest answer is to stop reading and book an electrician.
The rule of thumb: low-voltage wires you can label and photograph are DIY territory. Anything carrying household voltage is not.
What You Need Before Starting
- The compatibility check. Run the brand’s online tool with your system details before buying, since the thermostat must match your equipment.
- A C-wire or a workaround. Most smart thermostats need a common wire for power. Some homes have one, and some models work around its absence, which the next section explains.
- Basic tools. A screwdriver, a small level, label stickers, and your phone for photographs.
- The power shutoff location. Find the furnace switch and the breaker that feeds it before you touch anything.
- A clear afternoon. Thirty minutes is realistic for a standard swap, with time to spare for the app setup.
Thermostat Wiring Colors, Explained Simply
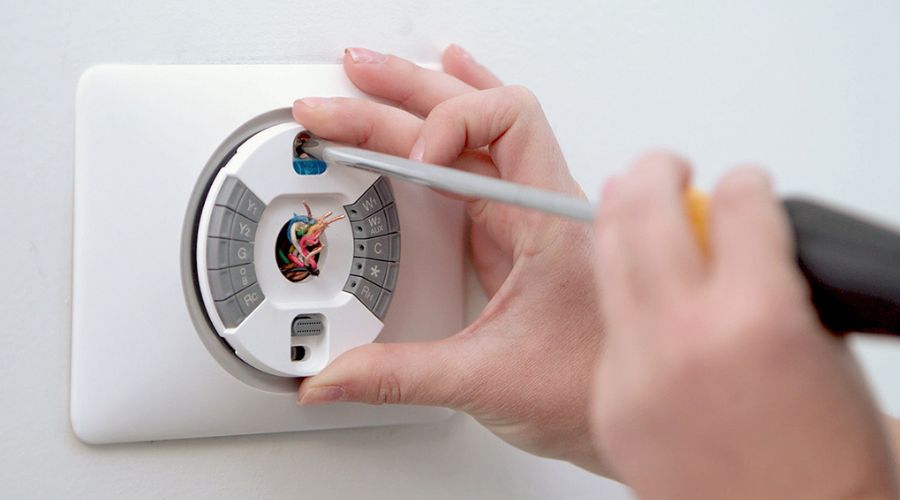
Wiring colors follow loose conventions rather than hard rules, which is why the labels matter more than the colors. Treat the list below as a guide:
- R or Rh and Rc carry power to the thermostat, and some systems split heating and cooling power across two R terminals.
- W calls for heat, and Y calls for cooling or the compressor.
- G runs the fan, and C, when present, supplies the common power that smart thermostats prefer.
- O and B control the reversing valve on heat pumps, which is why heat-pump installs have an extra setting.
Never trust a color alone, since installers over the years have used whatever wire was handy. The terminal letters on the old thermostat are the truth, and the photograph plus labels capture them.
Choosing the Right Mount Spot
The new thermostat usually goes where the old one lived, and that spot is often poor. The ideal location is an interior wall, away from direct sun, drafts, kitchen heat, and frequently used doors. A hallway thermostat keeps the whole house at hallway temperature. That’s exactly the problem room sensors solve on models like ecobee’s.
Moving the thermostat means extending wires, which drifts into professional territory. Before attempting it, consider leaving the mount where it is. Adding wireless room sensors fixes the same flaw without touching the wiring.
Step-by-Step Installation
Follow these steps in order, and take your time at the two moments that matter:
- Shut off the power. Flip the furnace switch or the breaker, then confirm with a voltage tester that the thermostat wires are dead.
- Photograph the old wiring. Take a close picture of the terminals and wires before removing anything. That photo is your safety net.
- Label every wire. Stick a label on each wire matching its terminal, such as R, W, Y, G, or C. Loose wires all look alike once they’re out.
- Remove the old thermostat. Unscrew the base carefully, and let the labeled wires hang where you can reach them.
- Mount the new wall plate. Level it, mark the screw holes, and attach it without pinching any wires.
- Connect the labeled wires. Push each wire into its matching terminal on the new base, following the included diagram or the app’s guidance.
- Attach the thermostat and restore power. Snap the unit on, flip the switch or breaker, and wait for the display to light.
- Run the setup wizard. The app pairs the thermostat, then tests the system by calling for heat, cool, and fan in turn.
The two moments that deserve extra care are the labeling and the final connection check. A wire in the wrong terminal is the source of most first-time confusion, and it’s always fixable if the wires are labeled.
The C-Wire Problem, Solved
The common wire, usually blue and labeled C, supplies steady power to the thermostat. Modern wiring usually includes it, and older homes often don’t. If yours lacks a C-wire, three paths exist.
Some brands solve it with hardware. ecobee ships a power extender kit that adapts the existing wires, and several Nest models draw enough power from the heating circuit itself. Both approaches avoid running new wire. If your chosen thermostat offers neither, the remaining options are a pro running a new wire or picking a different model. One more detail helps. Some systems hide the C terminal at the furnace even when the thermostat lacks it. In that case, a professional can often bridge the short gap between the two.
Check for the C-wire before you buy, not after. Open the old thermostat, look for a connected blue or B wire, and match the result against the model’s requirements.
Safety Rules That Are Not Optional
- Isolate the power completely. The furnace switch or breaker must be off, and a voltage tester should confirm it.
- Never work on line-voltage systems. Baseboard heater thermostats run at household voltage, and they are a professional’s job.
- Aluminum wiring means a pro. Old aluminum circuits need special connectors and expertise, not a weekend DIYer.
- No wet floors, no shortcuts. If anything feels wrong or looks unfamiliar, stop and take the photograph to a professional.
- Keep the labels until the end. The moment you reconnect power with a mystery wire is the moment mistakes happen.
What Can Go Wrong, and the Fixes
- The display stays dark. Power is off, the breaker tripped, or the C-wire connection is loose. Check those three in order.
- Heat runs when you asked for cool. The reversing valve setting for heat pumps is wrong, or the W and Y wires are swapped.
- The fan never stops. The G wire landed in the wrong terminal, or the system setting expects different fan logic.
- Short cycling. The air filter may be dirty, or the system is oversized for the thermostat’s expectations.
- The app cannot find the thermostat. Confirm the phone is on the same network and that the thermostat supports its band.
- Nothing works after a brief flash. Check the furnace control board fuse, which can blow if wires touched during install.
Every one of these is recoverable with the labels and the photograph. None of them means the house is in danger, as long as the power was handled properly. If the furnace itself shows a blinking code you cannot decode, write it down and search that exact code with the furnace model number.
When to Call the Electrician Anyway
- Line-voltage thermostats. Baseboard and radiant systems are off-limits for DIY.
- No C-wire and no manufacturer workaround. Running new wire is a pro job.
- Aluminum wiring or shared neutrals. Both need expertise most homeowners lack.
- A system you cannot identify. If the old thermostat or the furnace label means nothing to you, a service visit answers questions safely.
- Renting. You need written permission, and most landlords expect the original thermostat restored before you move.
There is no shame in the pro route. A service call costs far less than a damaged furnace board or a drywall repair, and it usually includes the compatibility answers you were missing.
What It Costs Either Way
Doing it yourself costs nothing in labor, which is the point for most people, and the tools are probably already in the house. A professional install typically adds a service call on top of the thermostat price, which many utility rebates soften or cover entirely. Check the rebate terms before you book, since some programs reimburse installation alongside the device.
Whichever route you take, the payback math starts after the install, and it depends on the schedule you set. Our energy savings guide covers the real numbers, since the savings come from behavior, not from the moment the thermostat lights up.
After the Install: The First-Week Checklist
The install ends where the real work begins, and a short checklist keeps the first week honest:
- Set a real schedule. A default program saves nothing, so put your actual sleep and away hours into the app.
- Watch the runtime reports. A week of data shows whether the system runs sensibly or cycles oddly.
- Test every mode once. Heat, cool, and fan should each respond to their settings without surprises.
- Change the air filter. A dirty filter explains more thermostat confusion than any wiring mistake.
- Keep the old thermostat and labels. Store them until the new one has proven itself for a full season.
Final Thoughts
Learning how to install a smart thermostat is a genuine skill worth having. The same habits, label everything, photograph first, isolate the power, apply to every device that follows. Check the C-wire and the system type before buying, follow the steps in order, and stop at the first sign of something unfamiliar. Most homes will finish in under an hour with a working thermostat and a small sense of victory. The rest will spend a modest service call and gain the same result, which is a comfortable home and a schedule that runs itself.
Installed it? The next step is the schedule, and that’s where the savings live. See how much a smart thermostat can really save in our energy guide.
Written by Ángel D. Serrano, who runs Automating Our Home. Finishing a philosophy degree, a patient reader of manuals, and the person who has broken more smart plugs than he will admit. He writes the guides so you only have to decide once.